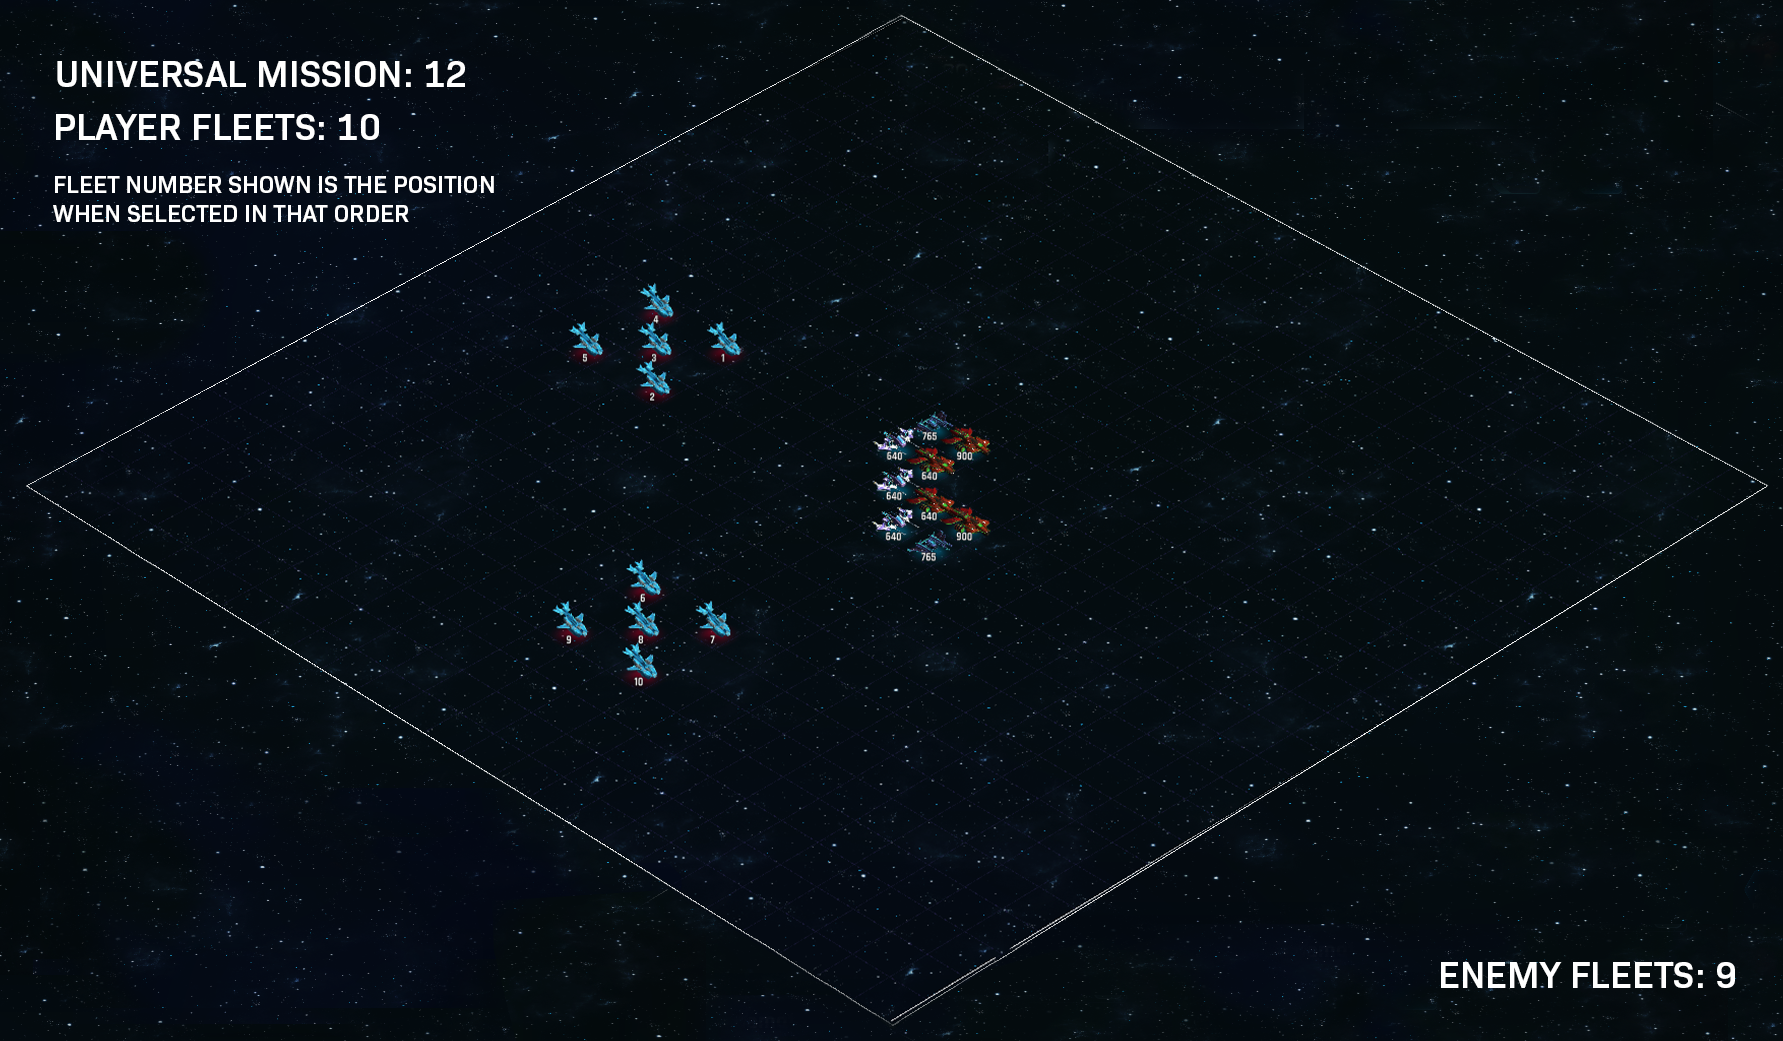
Mission map
Enemy counts and formations use the supplied grids. Counts printed on this older map may differ; fleets without confirmed positions are available in the fleet list below.
Player fleets: 10 · Enemy fleets: 9
Rewards
- Metal
- 6.8K–7.5K
- Tritium
- 6.8K–7.5K
- Gold
- 6.8K–7.5K
- Mission #12 Case
- 1
One reward per open
Blueprints · 10% pool
- Chimera Howl Cannon
- 2.5%
- Rift Shatter
- 2.5%
- Pulse Shotgun
- 2.5%
- Dragon Breath Rockets
- 2.5%
Resources · 90% pool
- Metal
- 45,000–50,000 · 30%
- Tritium
- 45,000–50,000 · 30%
- Gold
- 45,000–50,000 · 30%
The rewards panel combines completion rewards and the Mission Case’s possible drops. Case percentages are chances per open, and each case gives one reward. Select Rewards at the top right to expand the panel; it is collapsed by default.
Map supplied by karizmatic (player ID: 584), 2 October 2026. Fleet counts are recorded from the labels on this map.
Mission overview
Universal #12 · Max Fleets: 10
A Relic’s power threatens to destabilize an entire system. Prevent catastrophe while deciphering its purpose.
Enemy captain stats
Every enemy captain in Universal Mission 12 has the following stats:
| Aim | Velocity | Evade | Knowledge |
|---|---|---|---|
| 135 | 135 | 135 | 135 |
Velocity comparison: your captain needs 136 or more Velocity to exceed the enemy’s 135. Matching 135 is a tie; which side attacks first in a tie has not been confirmed.
Developer Toxic states that these figures come from the mission data used by the server. Every enemy captain in a Universal Mission has the same value for all four stats. Discord message screenshot supplied by KingFluffy, 4 October 2026.
Mission rewards
The mission card shows the following completion rewards. These are separate from the rewards obtained by opening its case.
| Reward | Amount shown |
|---|---|
| Metal | 6.8K–7.5K |
| Tritium | 6.8K–7.5K |
| Gold | 6.8K–7.5K |
| Universal Mission #12 Case | 1 |
Mission case
The Common Universal Mission #12 Case awards one reward per open. The case screen shows a 10% rare-drop pool and a 90% standard-drop pool.
| Schematic in rare pool | Displayed chance per open |
|---|---|
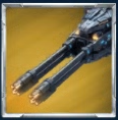 Chimera Howl Cannon | 2.5% |
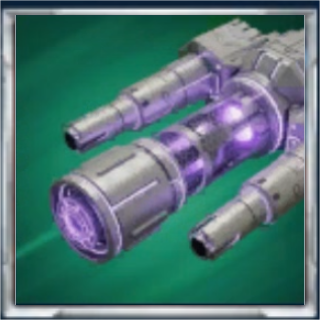 Rift Shatter | 2.5% |
 Pulse Shotgun | 2.5% |
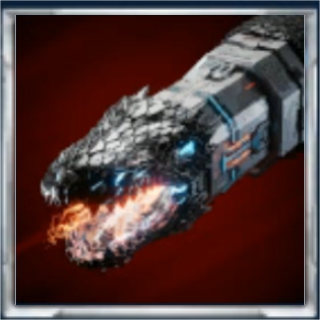 Dragon Breath Rockets | 2.5% |
| Standard resource reward | Amount if selected | Displayed chance per open |
|---|---|---|
| Metal | 45,000–50,000 | 30% |
| Tritium | 45,000–50,000 | 30% |
| Gold | 45,000–50,000 | 30% |
The case chooses one reward; it does not give every schematic or all three resources. Percentages are preserved as displayed. Where three schematics are listed, 3.3% is a rounded display value within the 10% rare pool.
Enemy fleet details & builds
Select a fleet marker on the map or choose View fleet below, then select a ship to inspect its equipment. Quantities are per ship.
Fleet A 1/2 · Starhopper III
Ship designs and equipment
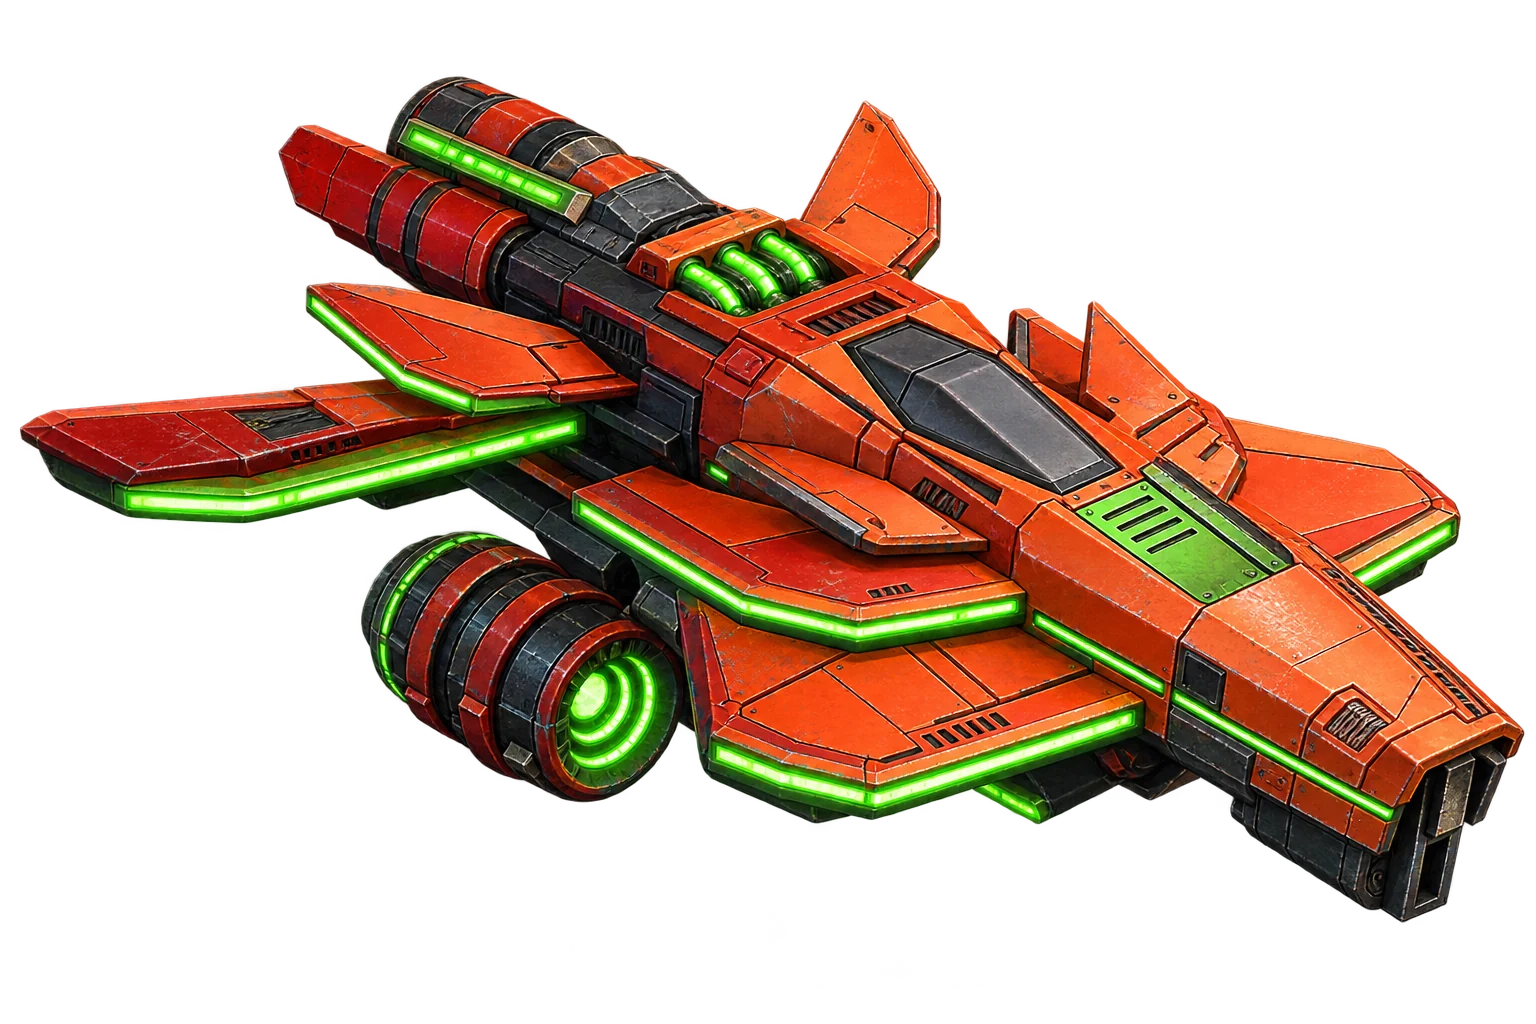
Starhopper III
Corvette · Hardisteel
100 per stack
Hull space: 54 + ? / 380. Enemy loadouts may exceed player limits.
- Movement
- 4
- Shield
- 780
- Structure
- 2300
- Range
- 6–10
- Attack
- 1998 – 2874
Equipment per ship
Fleet A 2/2 · Starhopper III
Ship designs and equipment
Starhopper III
Corvette · Hardisteel
100 per stack
Hull space: 54 + ? / 380. Enemy loadouts may exceed player limits.
- Movement
- 4
- Shield
- 780
- Structure
- 2300
- Range
- 6–10
- Attack
- 1998 – 2874
Equipment per ship
Fleet B 1/2 · Vespucci III
Ship designs and equipment
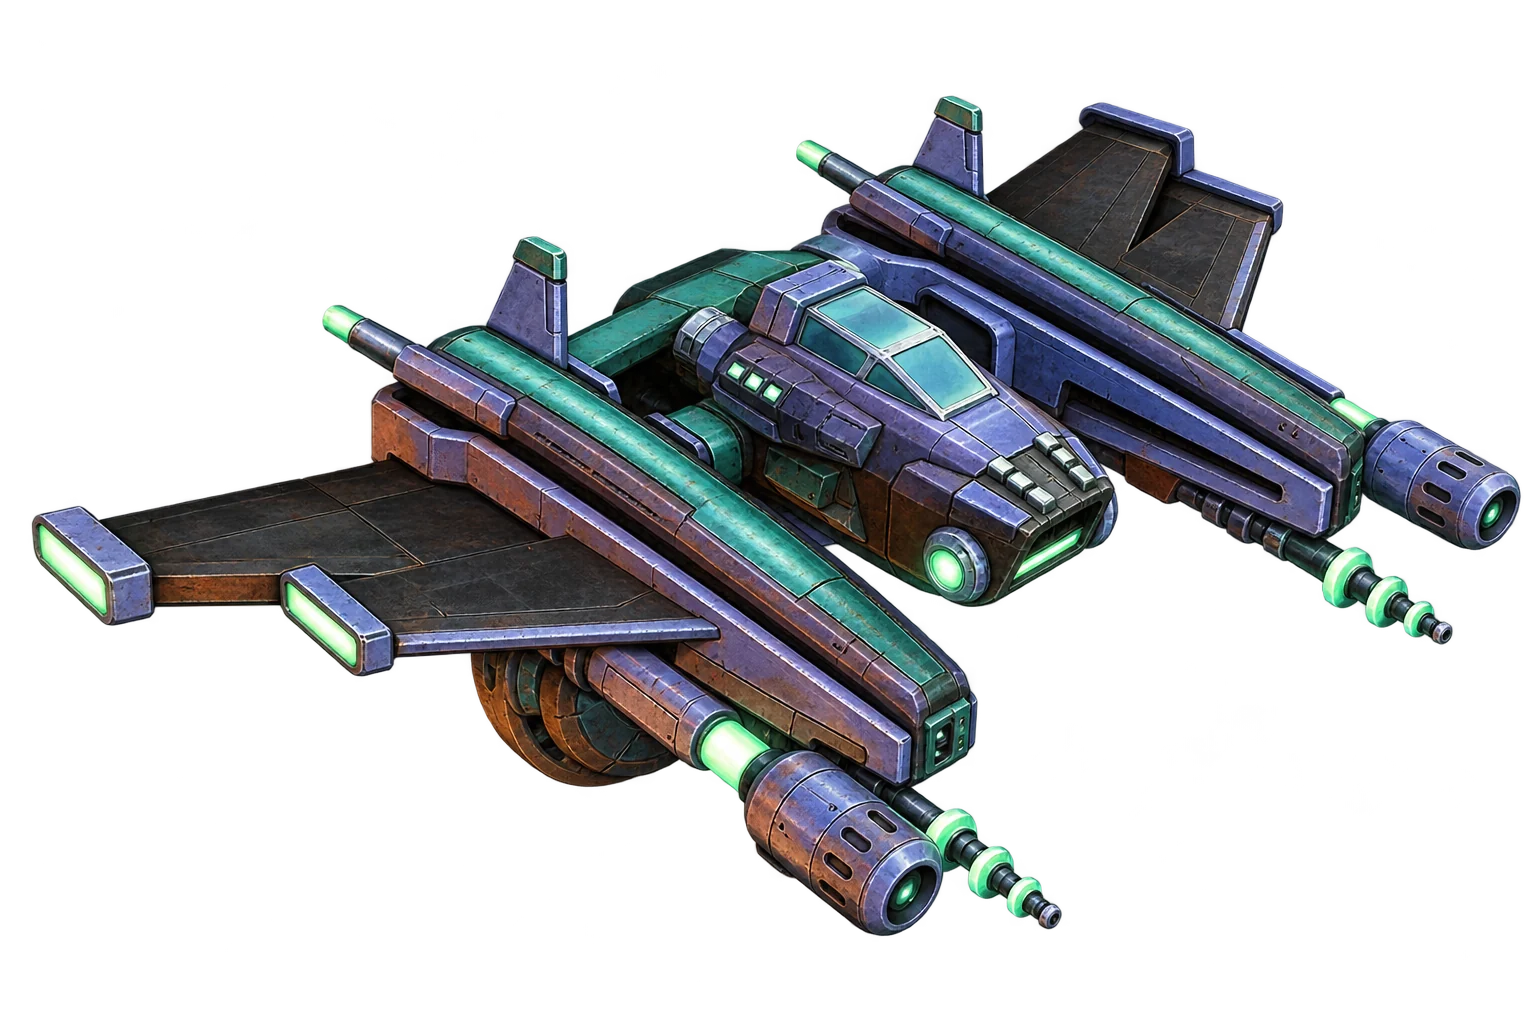
Vespucci III
Destroyer · Chrodanium
85 per stack
Hull space: 350 / 410. Enemy loadouts may exceed player limits.
- Movement
- 5
- Shield
- 630
- Structure
- 2900
- Range
- 5–8
- Attack
- 1840 – 2488
Equipment per ship
Fleet B 2/2 · Vespucci III
Ship designs and equipment
Vespucci III
Destroyer · Chrodanium
85 per stack
Hull space: 350 / 410. Enemy loadouts may exceed player limits.
- Movement
- 5
- Shield
- 630
- Structure
- 2900
- Range
- 5–8
- Attack
- 1840 – 2488
Equipment per ship
Fleet C 1/3 · Starhopper III
Ship designs and equipment
Starhopper III
Corvette · Hardisteel
80 per stack
Hull space: 296 / 380. Enemy loadouts may exceed player limits.
- Movement
- 5
- Shield
- 890
- Structure
- 2300
- Range
- 2–5
- Attack
- 1288 – 1491
Equipment per ship
Fleet C 2/3 · Starhopper III
Ship designs and equipment
Starhopper III
Corvette · Hardisteel
80 per stack
Hull space: 296 / 380. Enemy loadouts may exceed player limits.
- Movement
- 5
- Shield
- 890
- Structure
- 2300
- Range
- 2–5
- Attack
- 1288 – 1491
Equipment per ship
Fleet C 3/3 · Starhopper III
Ship designs and equipment
Starhopper III
Corvette · Hardisteel
80 per stack
Hull space: 296 / 380. Enemy loadouts may exceed player limits.
- Movement
- 5
- Shield
- 890
- Structure
- 2300
- Range
- 2–5
- Attack
- 1288 – 1491
Equipment per ship
Fleet D 1/2 · Reckless III
Ship designs and equipment
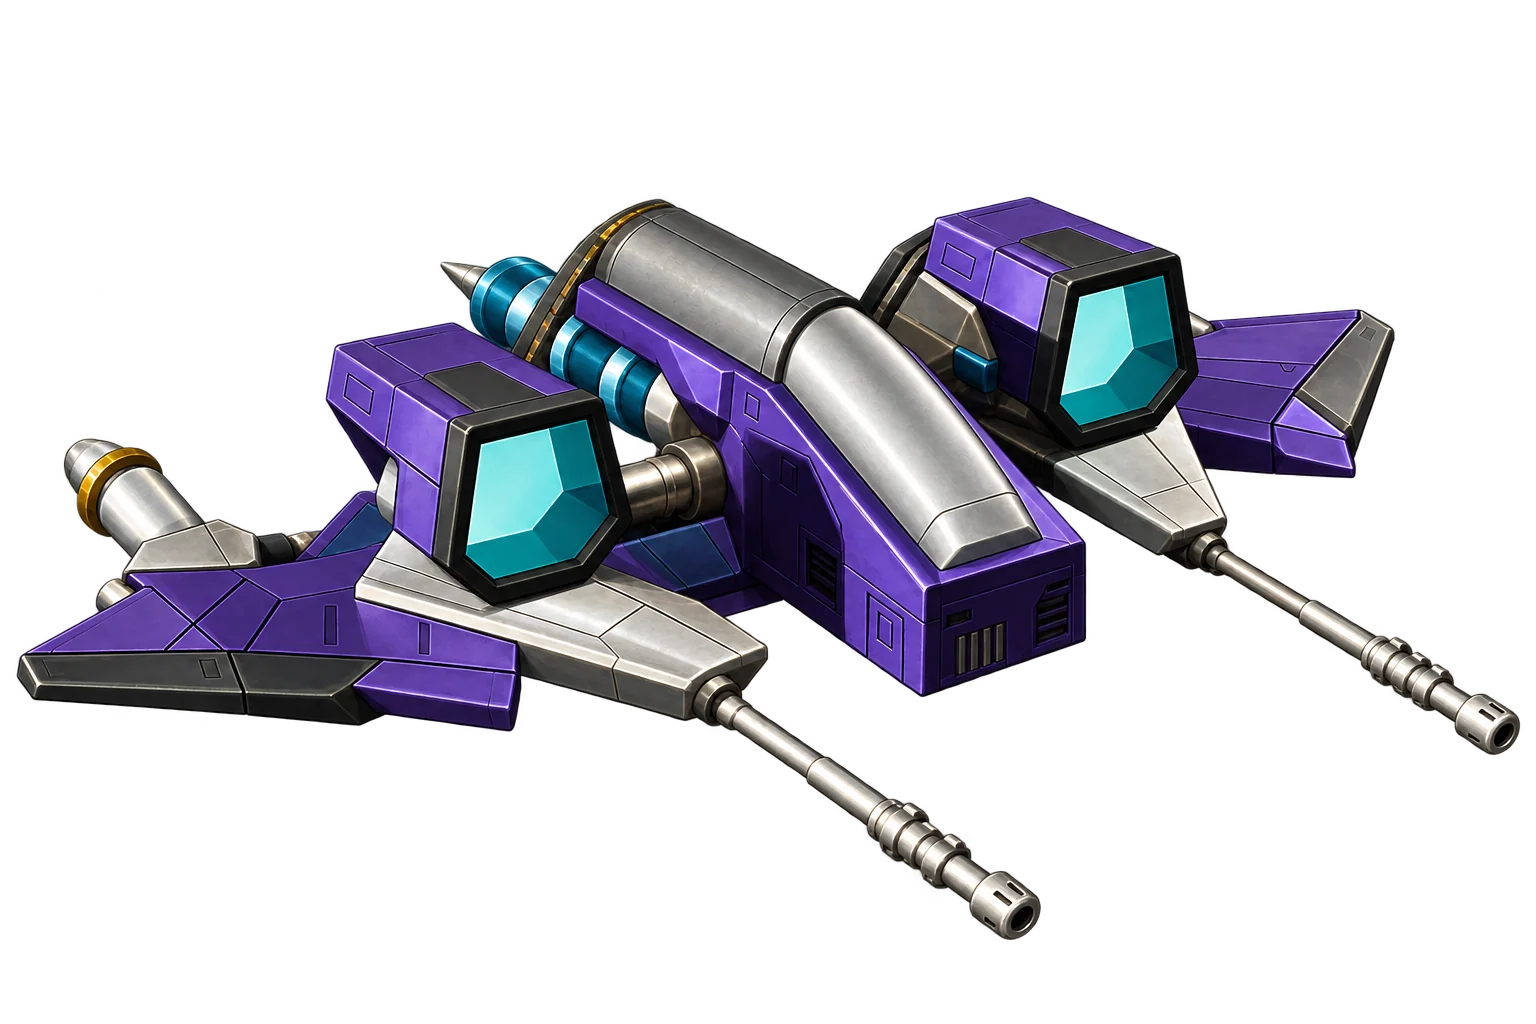
Reckless III
Fighter · Plasma
80 per stack
Hull space: 246 / 320. Enemy loadouts may exceed player limits.
- Movement
- 6
- Shield
- 910
- Structure
- 1660
- Range
- 1–2
- Attack
- 612 – 732
Equipment per ship
Fleet D 2/2 · Reckless III
Ship designs and equipment
Reckless III
Fighter · Plasma
80 per stack
Hull space: 246 / 320. Enemy loadouts may exceed player limits.
- Movement
- 6
- Shield
- 910
- Structure
- 1660
- Range
- 1–2
- Attack
- 612 – 732
Equipment per ship
Source: KingFluffy’s mission workbook, 28 October 2026. Ship counts use the grids, with the top row at the front. Unconfirmed map positions are marked in the fleet notes.
Preparing for the mission
Use the displayed Max Fleets limit when planning your deployment. The map records starting positions and enemy fleet count. Enemy formations and observed equipment are recorded above. Inferred details and missing loadouts are marked for confirmation. Entry costs and tested player builds still need documentation.
The Combat guide explains targeting, reload, fuel and damage. See Weapons, Defences and Ships for the underlying mechanics.
Source screenshots
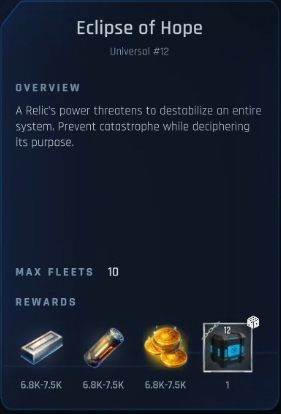
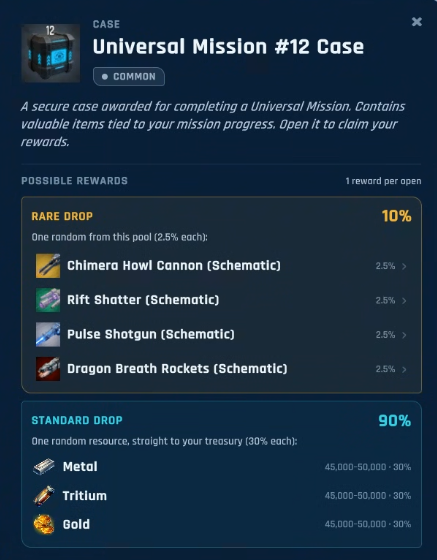
Screenshots supplied by the wiki owner on 1 October 2026. The owner confirms that Universal Missions run from 1 to 31 and supply blueprints for upgrades.